This page will help you get started with Quickloop.io in a jiffy!
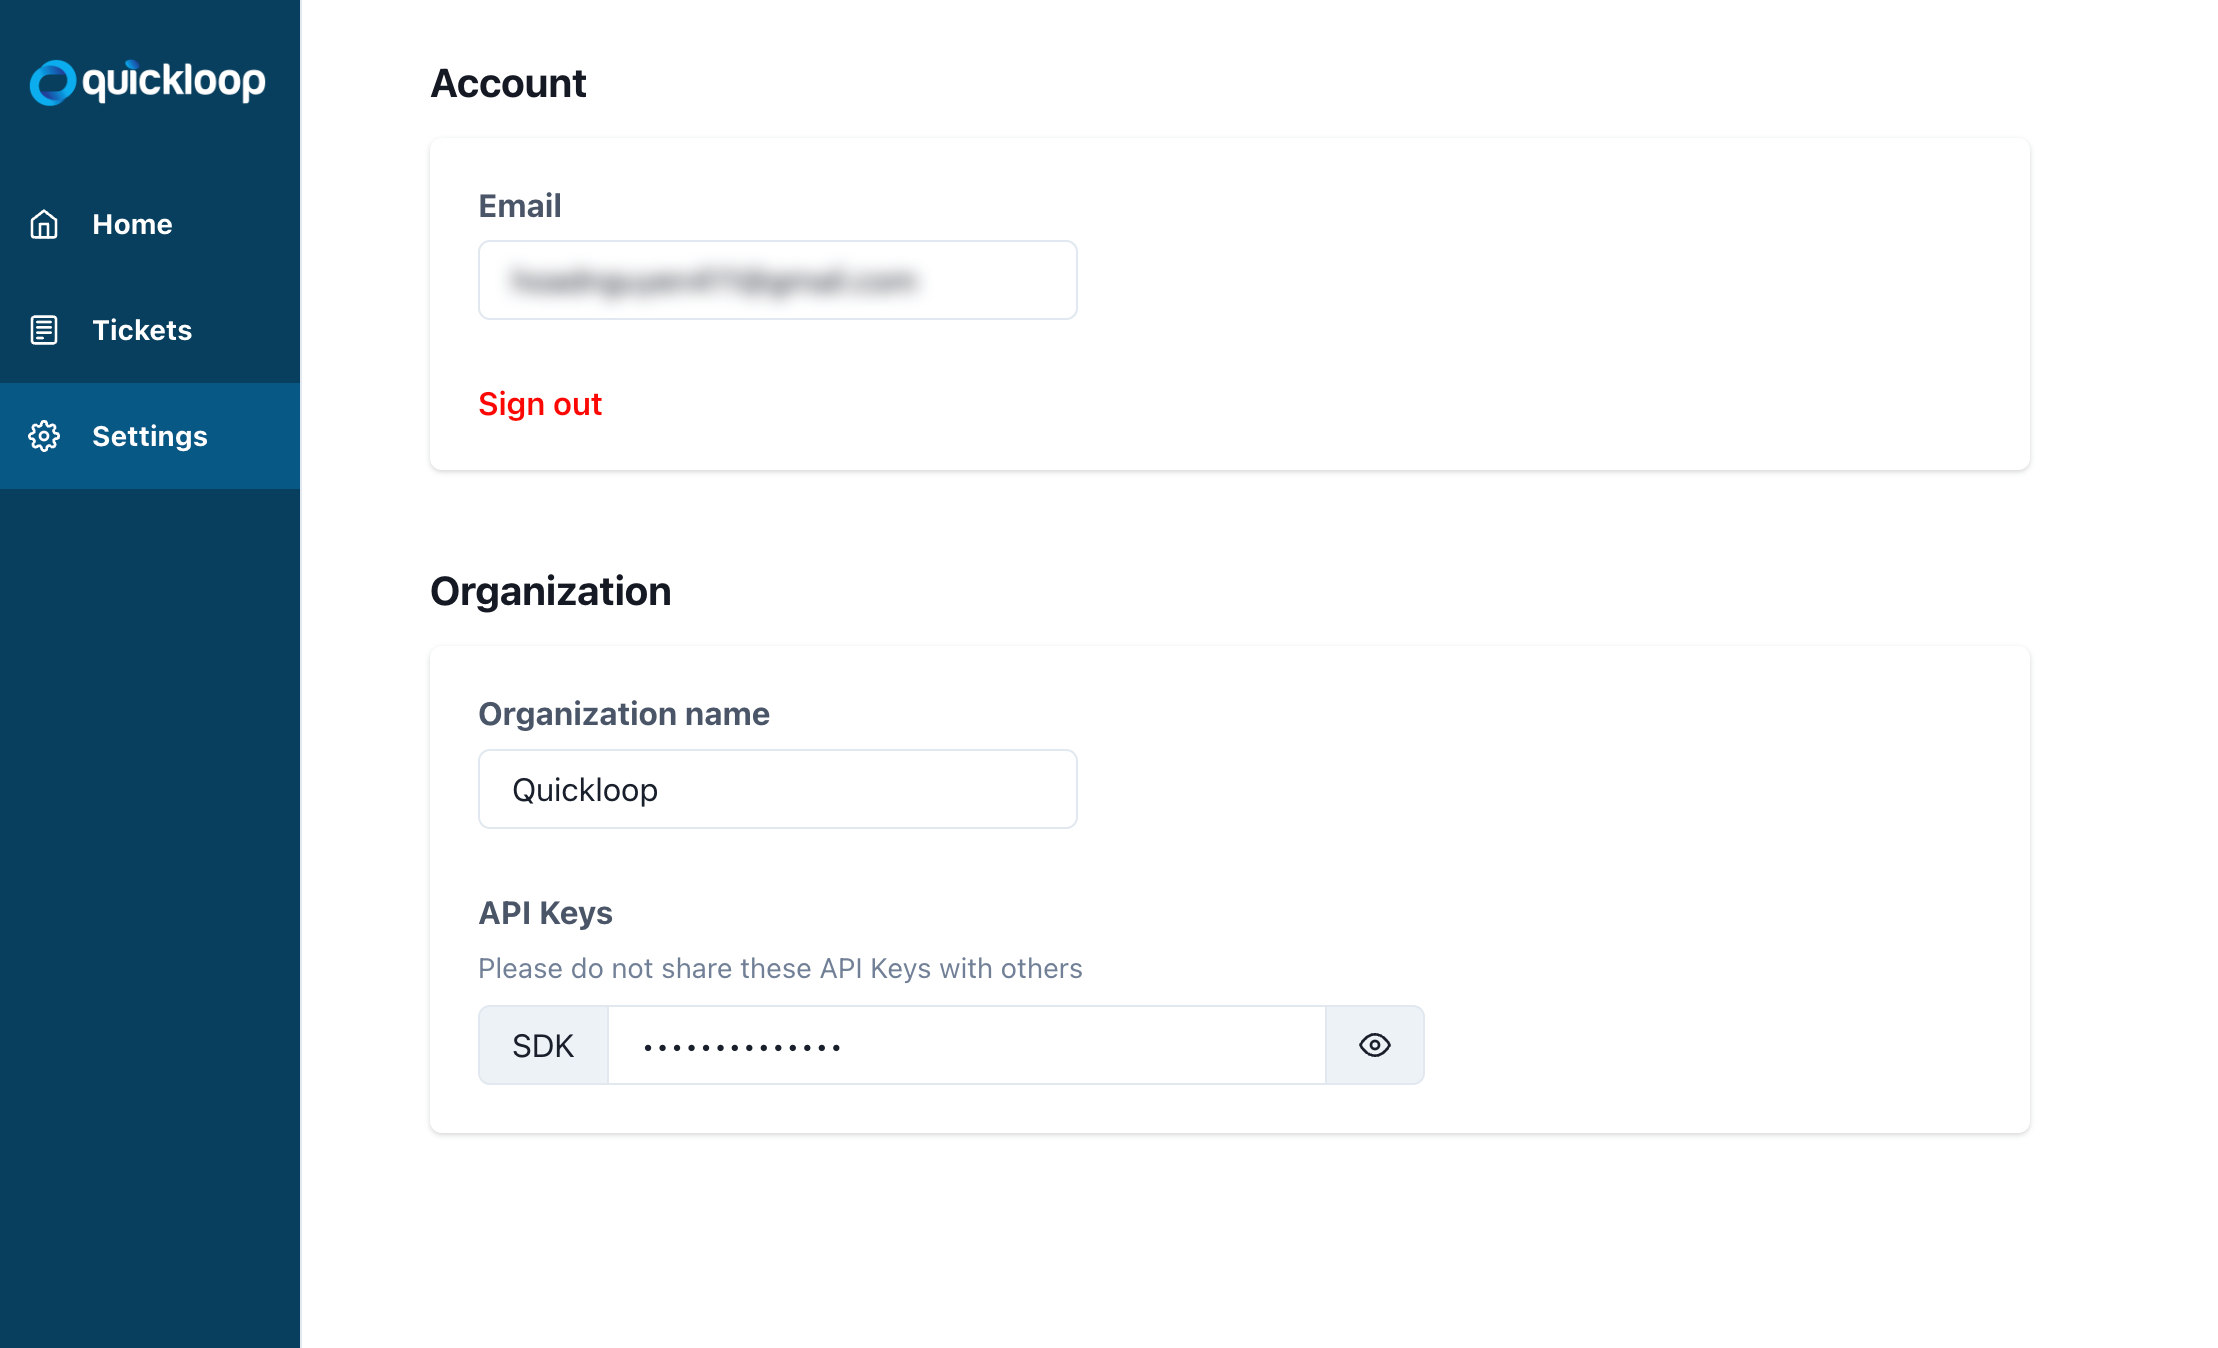
You can quickly create an account for your organization by visiting app.quickloop.io. Each organization will be given an API Key (you can find it under the Settings tab), copy it because you will need it for the next steps.

There are two ways to install Quickloop into your web applications. You should choose the solution that matches your tech stacks.
<script> tag (Recommended)Simply include this script snippet between your website's <head> tags. It is recommended to insert it as the first element of the header.
<script type="text/javascript" src="<https://app.quickloop.io/scripts/sdk.js?key=><YOUR API KEY>"></script>
The script will automatically render our built-in widgets, so you don't have to take further action for Quickloop to work.
Should you want to take more control of QuickloopSdk, you can also access it via the global window.quickloopSdk variable. For example:
<script>
  window.addEventListener('load', () => {
		window.quickloopSdk.identify({
      reporterId: localStorage.getItem('user_email')
    });
	});
</script>
Important: To maintain the latest version of Quickloop SDK on all applications, this method is not recommended and soon to be deprecated
Our NPM package @quickloop/quickloop-sdk provides a set of in-browser functions to collect data for quickloop.io.
npm install @quickloop/quickloop-sdk
# OR
yarn add @quickloop/quickloop-sdk
Once the package is installed, use the API key to inialize the SDK as follow:
import { QuickloopSdk } from '@quickloopio/quickloop-sdk';

const sdk = QuickloopSdk.init({
  apiKey: 'YOUR_API_KEY',
});